
Setting Up Basic WordPress Settings
Properly configuring your WordPress settings is essential to ensure your website runs smoothly and efficiently. Here’s a comprehensive step-by-step guide to setting up the basic settings in WordPress:
1. General Settings
After logging into your WordPress dashboard, navigate to Settings > General

Here, you can configure:
- Site Title: Enter the name of your website. This is what appears in the browser title bar and in search engine results.
- Tagline: A brief description of what your website is about. This often appears below the site title in search engine results.
- WordPress Address (URL) and Site Address (URL): Ensure these URLs are correct and match your domain. This setting is crucial for your site’s functionality.
- Email Address: Provide an administrative email address where WordPress will send notifications.
- Membership: Enable this if you want anyone to register on your site. Useful for community-based websites.
- New User Default Role: Set the default role for new users. Subscriber is recommended for most cases as it has limited permissions.
- Site Language: Select the language for your site. This sets the default language for your WordPress installation.
- Timezone: Set your timezone to ensure your posts are published at the correct local time.
- Date Format: Choose how dates are displayed on your site. Select from predefined formats or create a custom format.
- Time Format: Choose how time is displayed on your site.
- Week Starts On: Select the first day of the week for your site’s calendar. Typically set to Monday or Sunday.
Make sure to click Save Changes after making your adjustments.
2. Writing Settings
Navigate to Settings > Writing.
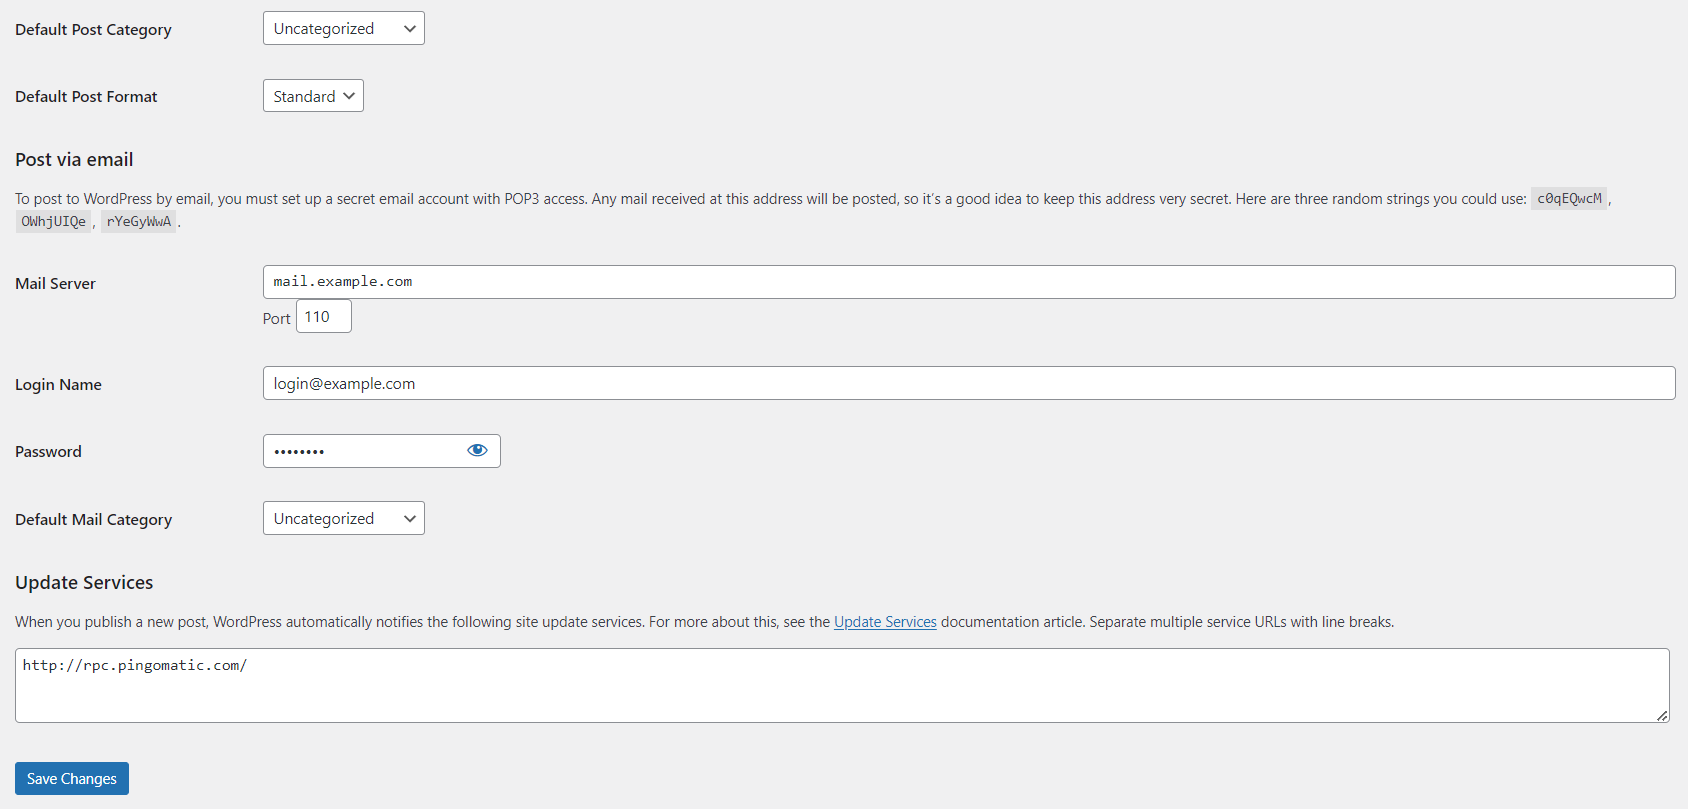
In this section:
- Default Post Category: Select the default category for your posts. This helps in organizing your content better.
- Default Post Format: Choose a default format for your posts. Options include Standard, Aside, Link, Gallery, etc.
- Post via email: If you want to post via email, set up the necessary details here. This includes mail server settings and a secret email account for posting.
- Update Services: Add services to notify when you publish new content. WordPress automatically notifies site update services.
3. Reading Settings
Go to Settings > Reading.
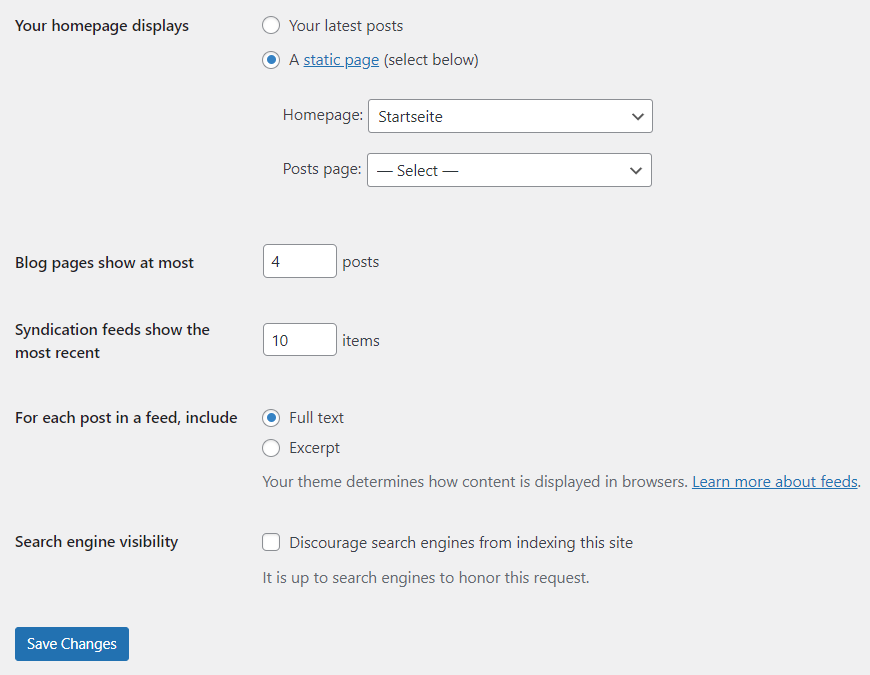
Here, you can set:
- Your homepage displays: Choose whether to display your latest posts or a static page. If you select a static page, choose which page will be your homepage and which will display your posts.
- Blog pages show at most: Select the number of posts to display per page.
- Syndication feeds show the most recent: Set the number of items to show in your RSS feed.
- For each post in a feed, include: Choose between full text or a summary.
- Search Engine Visibility: Check this option if you want to discourage search engines from indexing your site while it's under development. Note that search engines may ignore this request.
4. Discussion Settings
Navigate to Settings > Discussion.
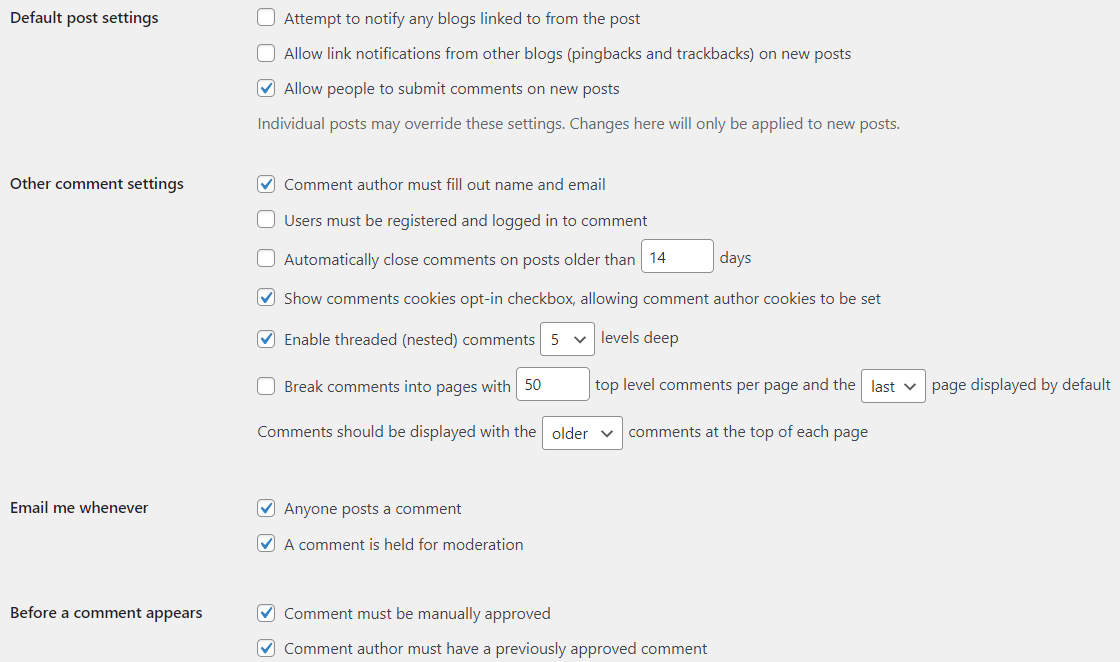
In this section, you can configure:
- Default article settings: Manage settings for link notifications, pingbacks, and trackbacks. You can allow or disallow these for new articles.
- Other comment settings: Set requirements for comment authors, such as filling out their name and email. Decide if comments need to be manually approved.
- Email me whenever: Choose when you want to be notified about comments, such as when someone posts a comment or a comment is held for moderation.
- Before a comment appears: Set rules for comment moderation. You can require comments to be manually approved or allow comments if the author has a previously approved comment.
- Comment Moderation and Blacklist: Add keywords to hold comments for moderation or mark them as spam. This helps in filtering out unwanted comments.
- Avatar Display: Decide whether to show avatars in comments and choose a default avatar for users without a custom avatar.
5. Media Settings
Go to Settings > Media.
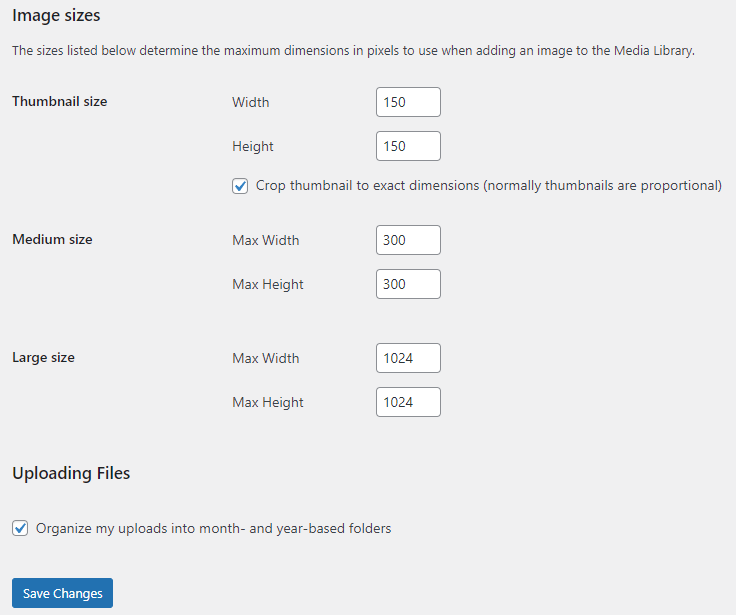
Set the dimensions for images uploaded to your site:
- Thumbnail size: Define the maximum dimensions for thumbnail images.
- Medium size: Set the maximum dimensions for medium-sized images.
- Large size: Set the maximum dimensions for large-sized images.
- Uploading files: Organize uploads into month- and year-based folders. This helps in managing your media library efficiently.
6. Permalinks Settings
Navigate to Settings > Permalinks.
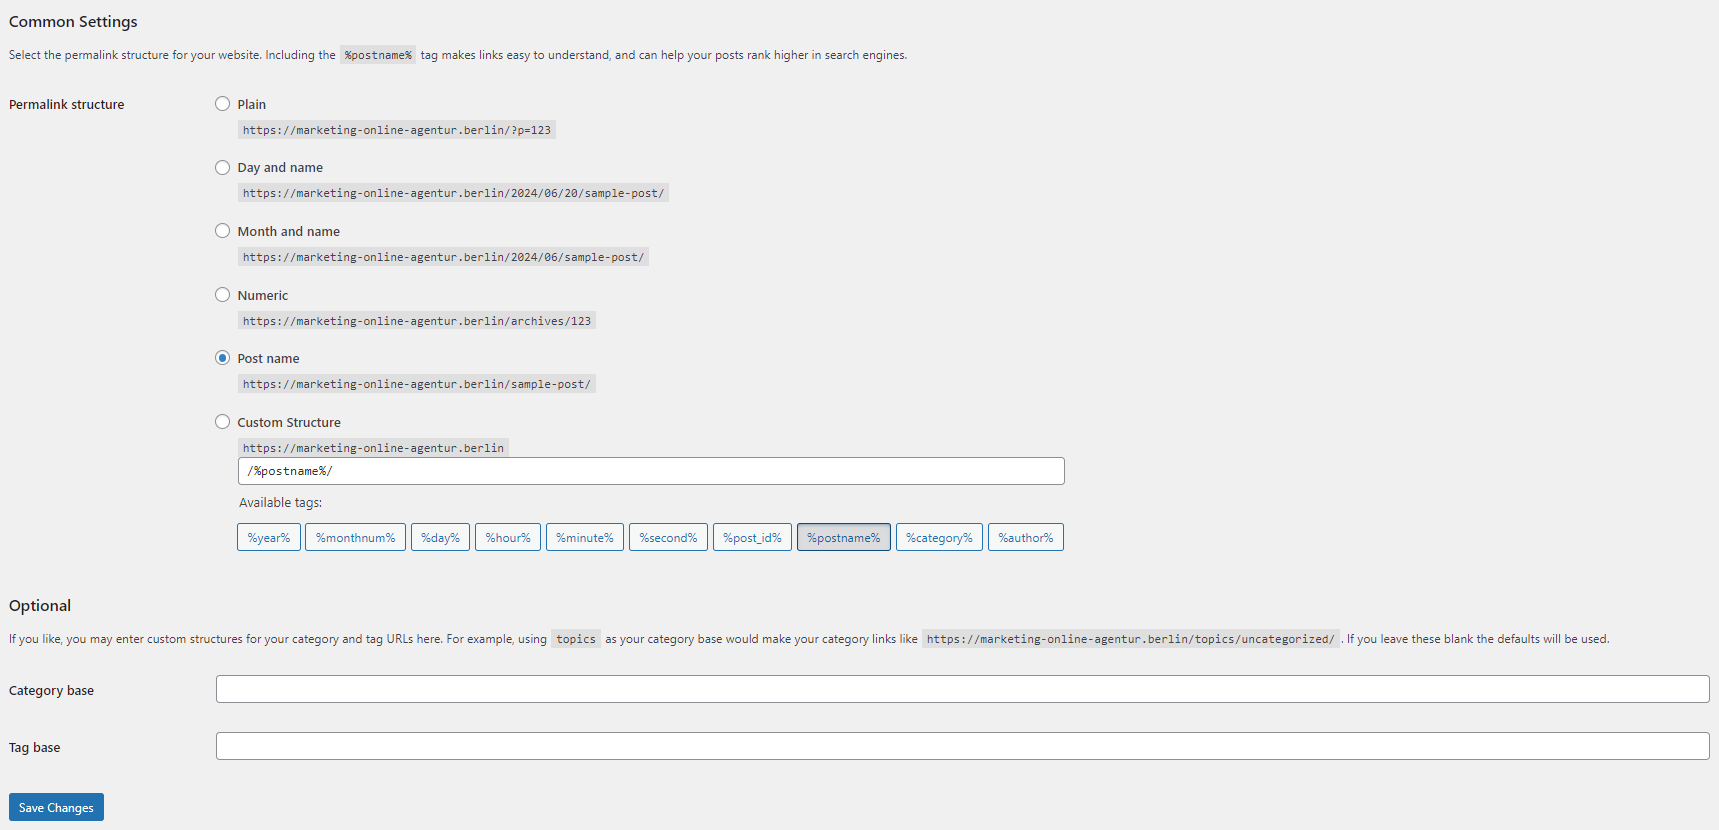
Choose a structure for your URLs:
- Common Settings: Select a URL structure. The “Post name” option is recommended for SEO-friendly URLs as it includes the post title in the URL.
- Optional: Set custom bases for categories and tags. This helps in creating more readable and user-friendly URLs.
Additional Settings
Depending on the plugins you have installed, you might see additional settings such as:
- Privacy: Create or set a privacy policy page for GDPR compliance.
- UpdraftPlus Backups: Configure backup settings to ensure your site data is safe.
- Cron Schedules: Manage and schedule cron jobs for automated tasks.
- WP Rocket: Configure caching settings for performance optimization.
- Optimize Google Fonts: Optimize the loading of Google Fonts on your site.
- Cookies: Manage settings related to cookies and user consent.
- Custom JS Header: Add custom JavaScript to your site’s header.
- Image Optimizer: Optimize images for better performance.
- Security Plugins: Configure settings to enhance the security of your site.
Conclusion
Taking the time to properly configure these settings ensures your WordPress site is optimized for performance, user experience, and security. Each setting plays a crucial role in how your website functions and interacts with visitors and search engines.
« Back
