How to create a BackUp
It is important that you always make sure that you make a backup for your website regularly. It can always happen that after updating the plugins or theme, something breaks on the website and thus after the backup, you can bring the website back to the way it was before the update.
Install plugin
The first step is that you install a plugin to be able to make a backup. To do this, go to WordPress on the plugins -> install. Now you also already enter backup in the search bar. For this example we have used "UpdraftPlus- Backup / Restore". Now install the plugin and activate this.
Create backup
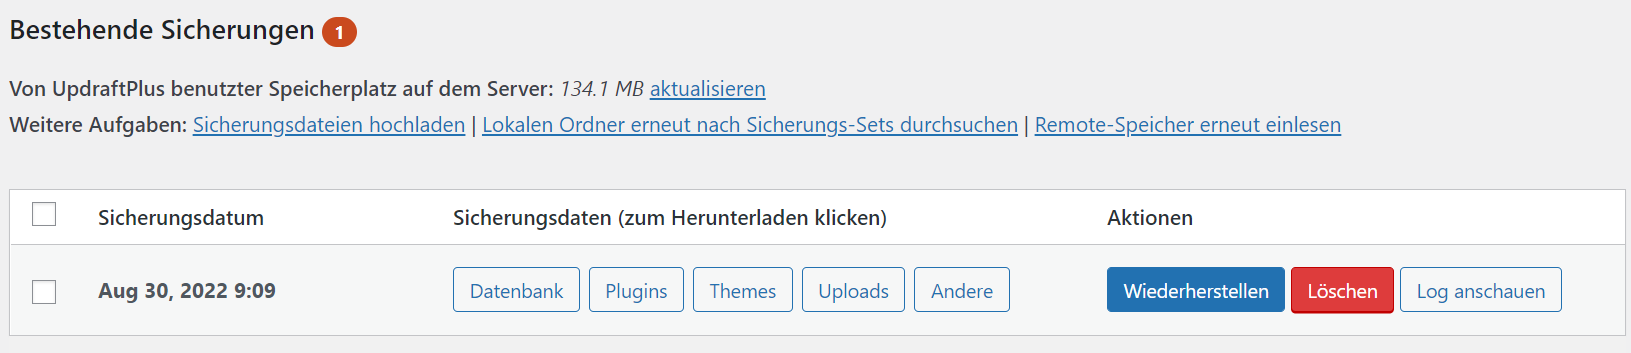
For this, first go to the settings of the plug-in. You have several functions here and in this case, the free version is also used. Under Backup/Restore you can start the backup under the big blue button. After you have done that, you can see further down under Existing Backups which backups you have made and when.
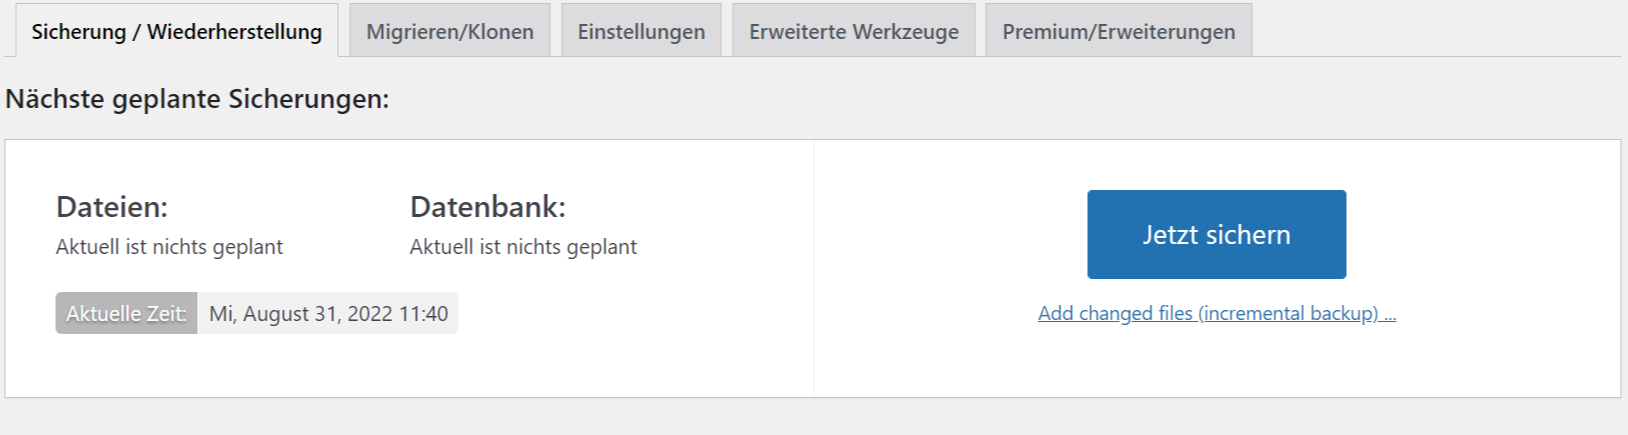
Under Migrate/Clone you can create a Temporary Clone of your website. This is for testing with the clone website instead of a live website tester. For this an upgrade is necessary. In the settings, you can now set the backup plan, as well as choose an online storage. Likewise, you can still select what you want to add to the backup. The advanced tools are just in case you have problems. Is this not the case? You can ignore the advanced tools. Under Premium/Extension you get an overview of the free and the premium version.
Restore Backup
Under Backup/Restore you have now created a backup. In this case you want to restore the website and you can do this easily by clicking on the blue "restore" button. Now select components that you want to restore. Finally click on restore and in a few seconds this will be done.