
How to Add a Header in WordPress with Elementor
How to Add a Header in WordPress with Elementor: A Step-by-Step Guide
Creating a custom header for your WordPress site can significantly enhance its appearance and user experience. With Elementor, a powerful page builder plugin, you can design a unique and professional header with ease. Whether you're looking to add a simple logo and navigation menu or a more complex design with call-to-action buttons and social media links, Elementor provides all the tools you need. In this article, we'll walk you through the process step-by-step, ensuring you can create a header that perfectly aligns with your site's branding and style.
Step 1: Install and Activate Elementor and Elementor Pro
- To start, ensure you have both the Elementor plugin and the Elementor Pro add-on installed and activated on your WordPress site. Elementor Pro is necessary as it unlocks the theme builder functionality.
Step 2: Access the Elementor Theme Builder
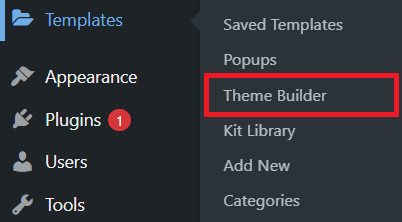
- In your WordPress dashboard, navigate to Templates » Theme Builder.
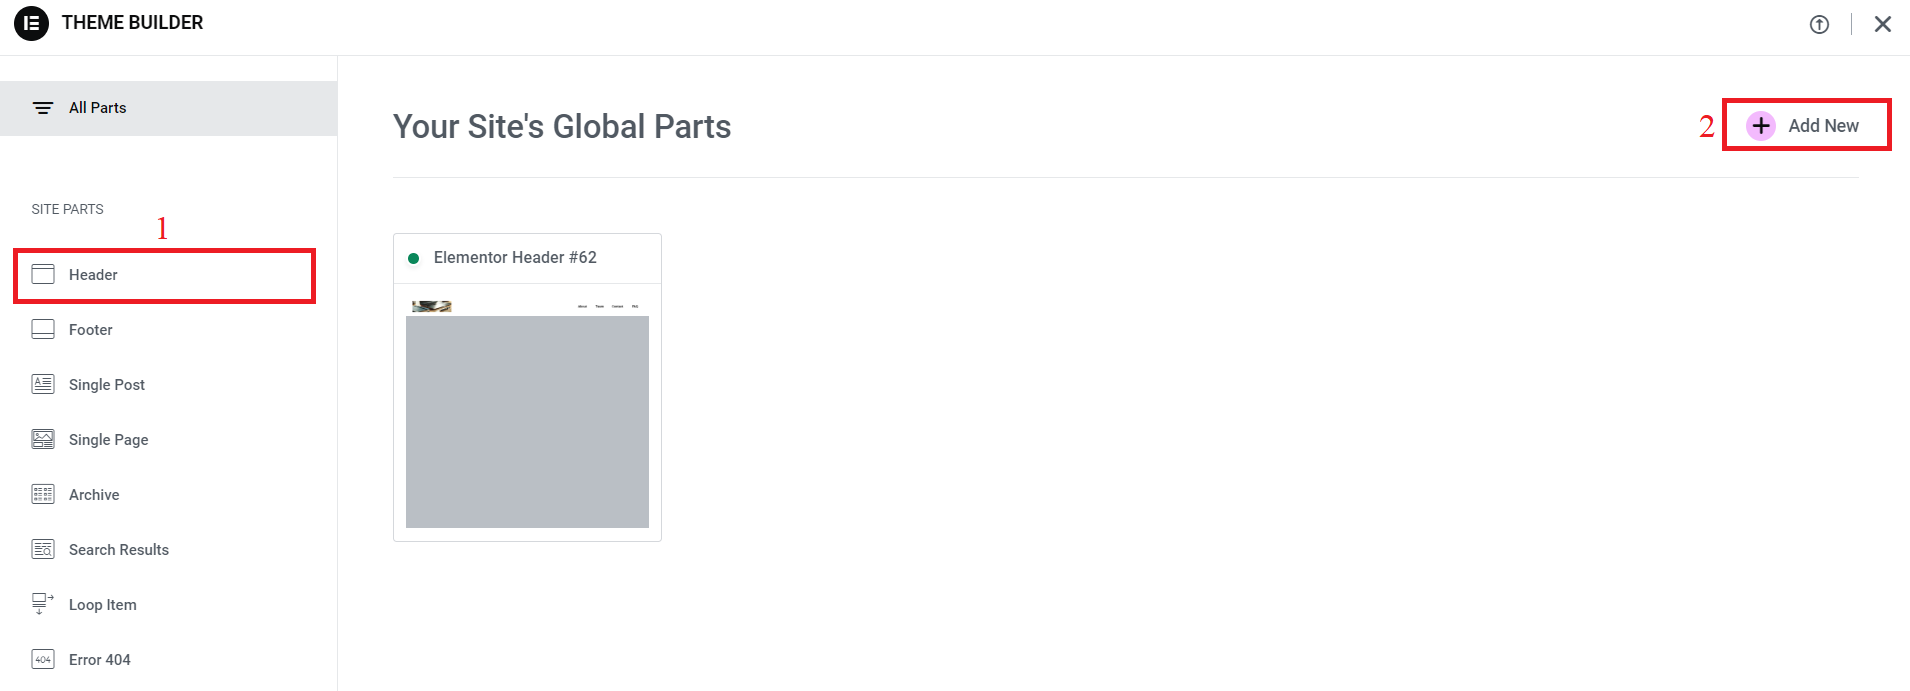
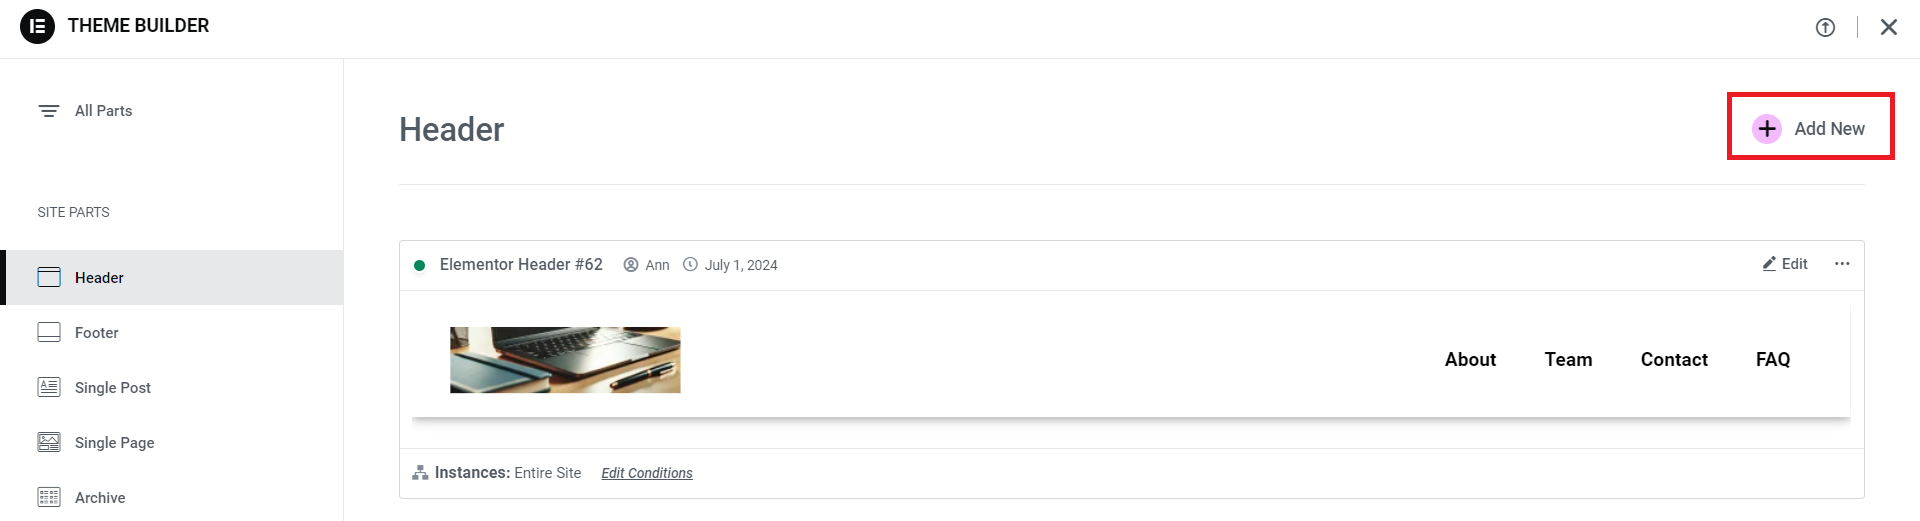
- Click on the Header tab and then the Add New button.
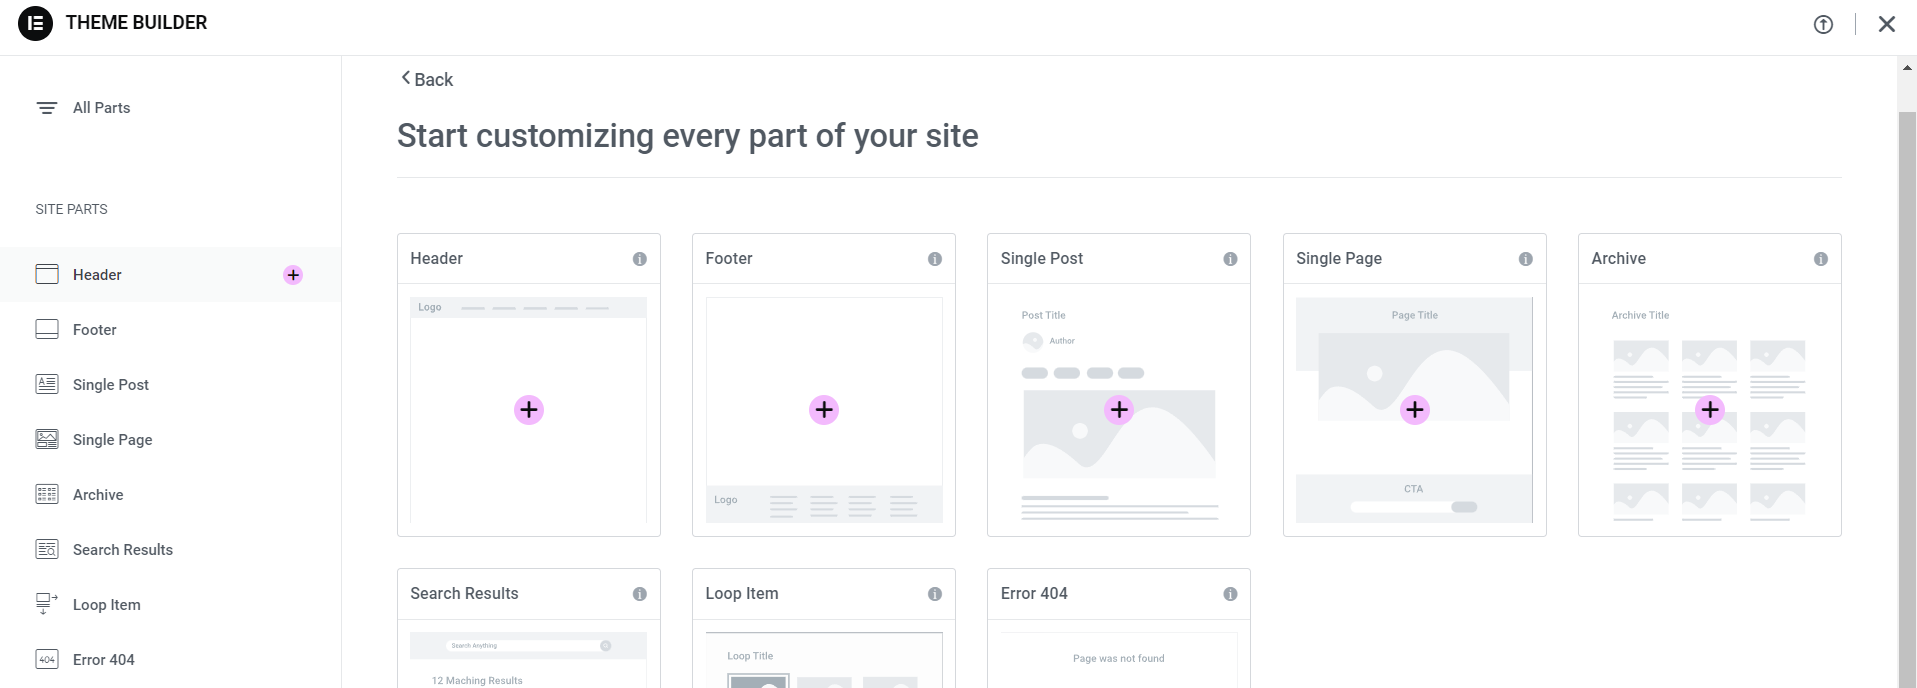
Step 3: Choose a Header Template
- You'll be prompted to choose a template type. Select Header and give it a name, then click Create Template.
- Elementor will open with a selection of pre-designed header templates. You can choose one that fits your design style or start from scratch.
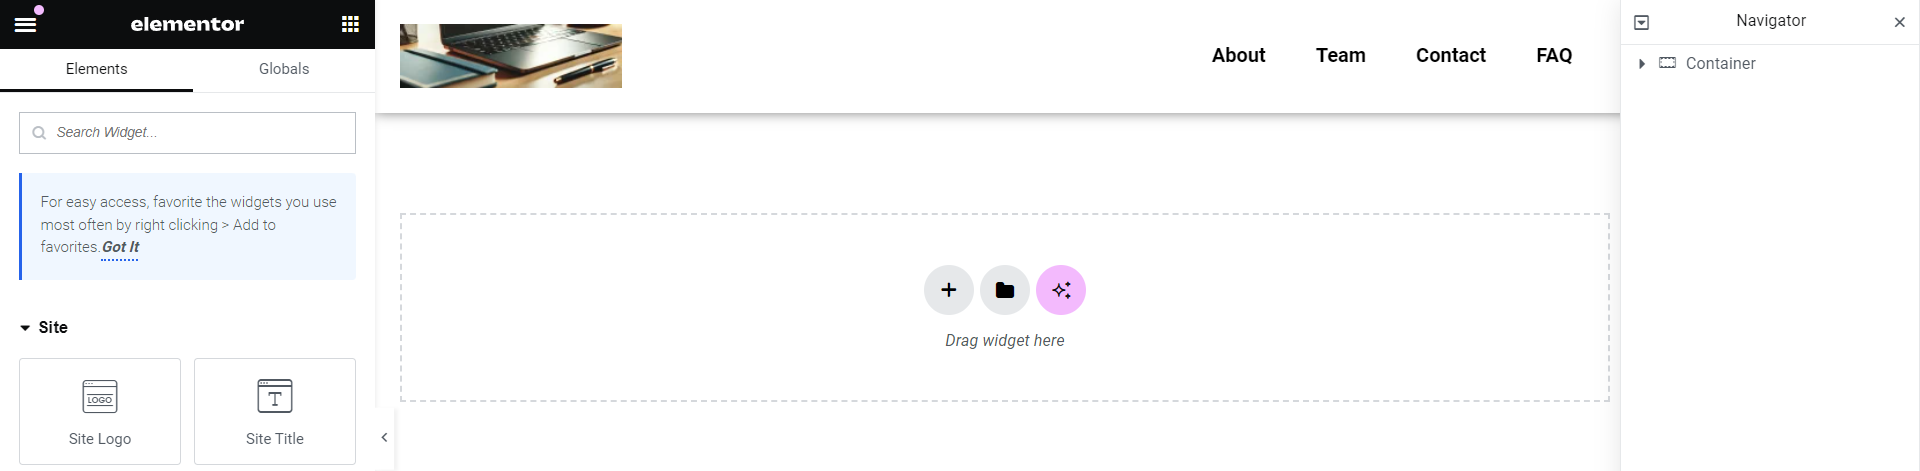
Step 4: Customize Your Header
- Use Elementor's drag-and-drop interface to customize your header. Add elements like your site logo, navigation menu, social icons, and more.
- Adjust the styling, colors, and fonts to match your site's branding.
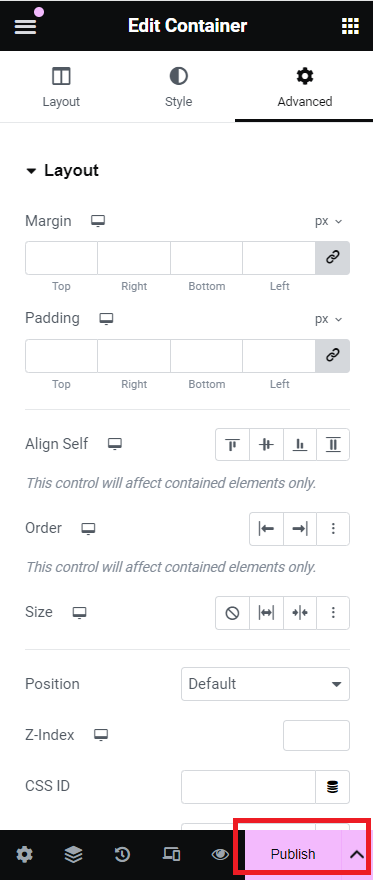
Step 5: Set Display Conditions
- Once you're happy with your design, click the Publish button.
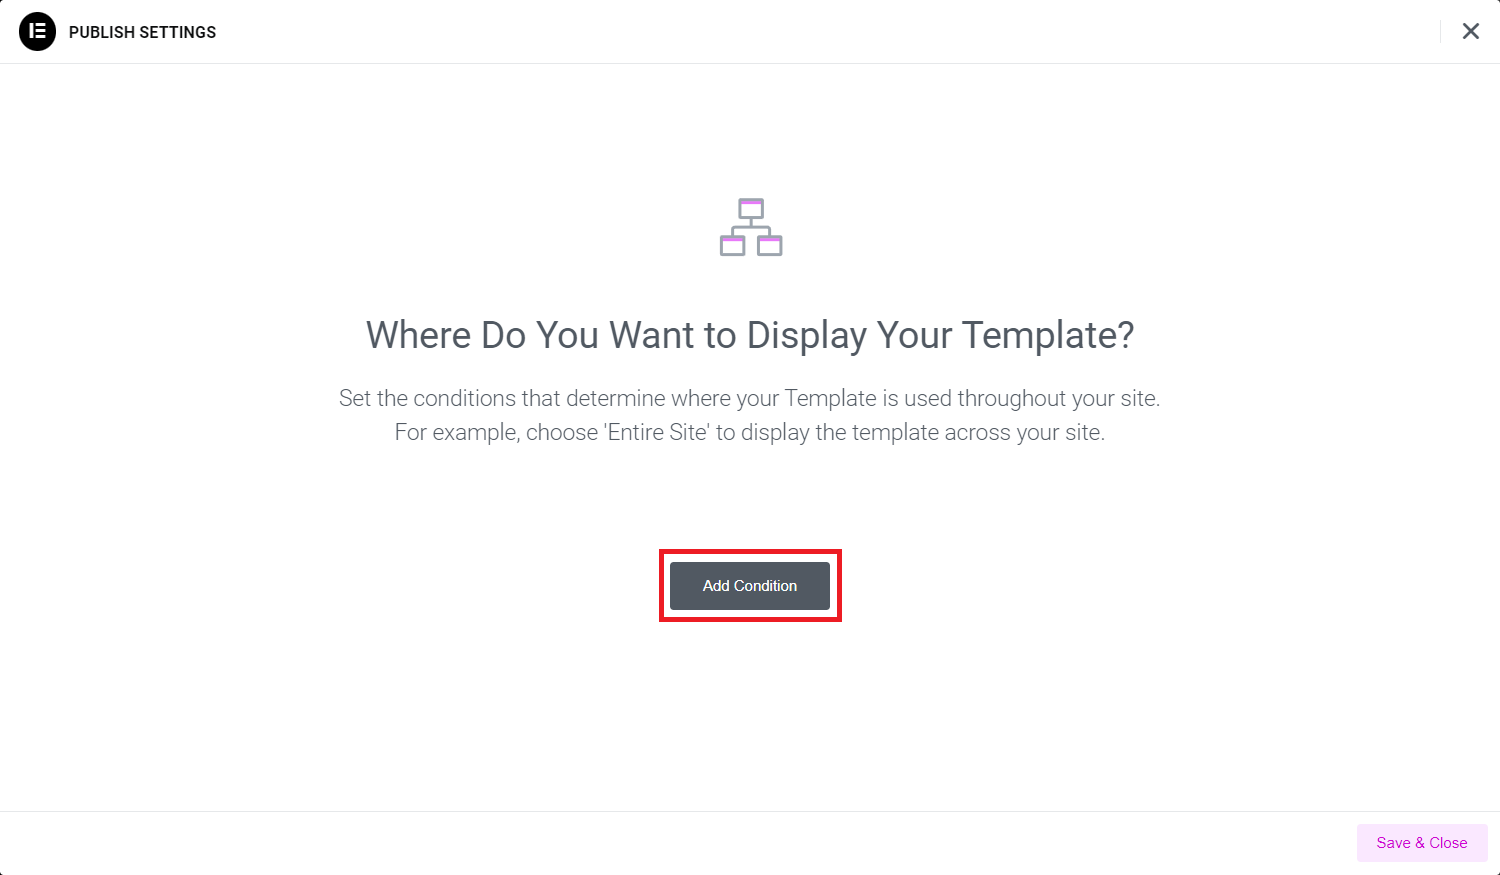
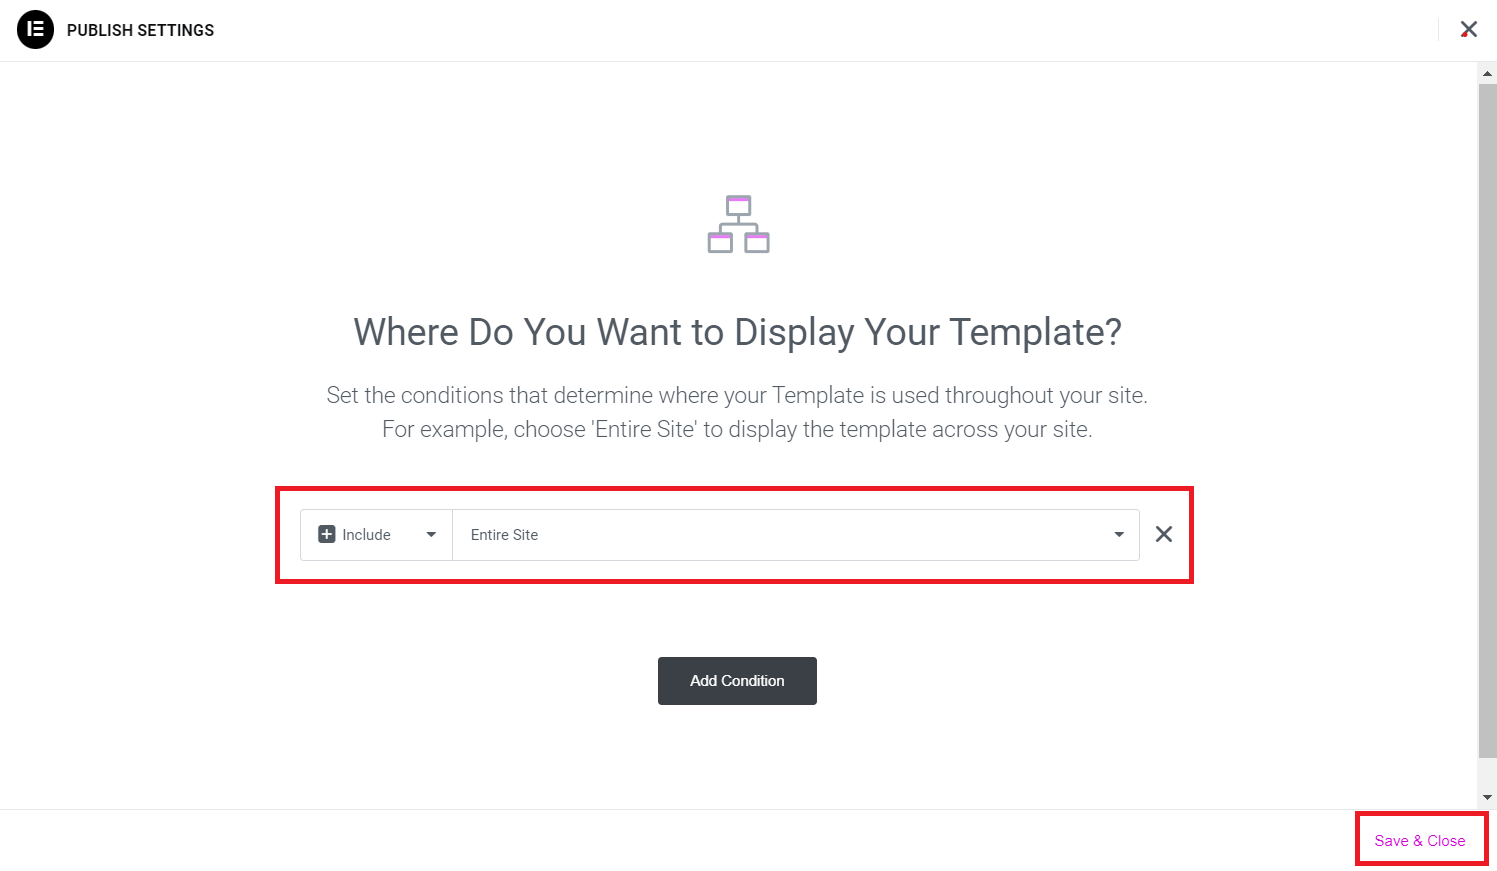
- You'll be prompted to set display conditions. This determines where your header will appear on your site (e.g., on the entire site, specific pages, etc.).
- Choose your conditions and click Save & Close.
Step 6: Final Adjustments
- Preview your site to see your new header in action. Make any necessary tweaks to ensure it looks perfect on all devices.
By following these steps, you’ll be able to create a stunning header that enhances your website’s functionality and aesthetic appeal.
Video Tutorial
If you prefer visual learning, check out our detailed video tutorial that walks you through each step of the process. This video will provide you with additional tips and insights to help you create the perfect header for your WordPress site using Elementor.
And that's it! You've successfully added a custom header to your WordPress site using Elementor. Enjoy your new, personalized header that stands out and enhances your website's overall look and feel. For more tips and tricks on using Elementor, stay tuned to our blog!
« Назад
